RAUC
Keeping the operating system up to date gives your devices the latest fixes and features. RAUC (Robust Auto-Update Controller) is the update mechanism of Orchestra OS. On the RAUC page you can upload a file with a new version of the operating system, called an image, and choose the devices that should install it. You don’t need physical access to the devices.
This guide walks you through how RAUC updates work, how to add and manage images, and how to update your devices.
Note
Only users with edit rights see the Add image and Update devices buttons.
How RAUC works
Orchestra OS keeps two copies of the operating system on the device, in slots A and B. The device runs the operating system from one slot. The other slot is used for the next update. During an update:
The update is installed in the slot that isn’t running, so the device keeps working during the installation
After the installation, the device starts from the updated slot
The update doesn’t replace
/data, where the device keeps Docker containers, with their data and its configuration
An image is a RAUC bundle: a .raucb file with the new operating system and
information about it, such as its version and the devices it’s compatible with.
Orchestra reads this information from the file, so you don’t need to enter it.
For more information about how the device installs updates, see OrchestraOS Architecture.
The RAUC page
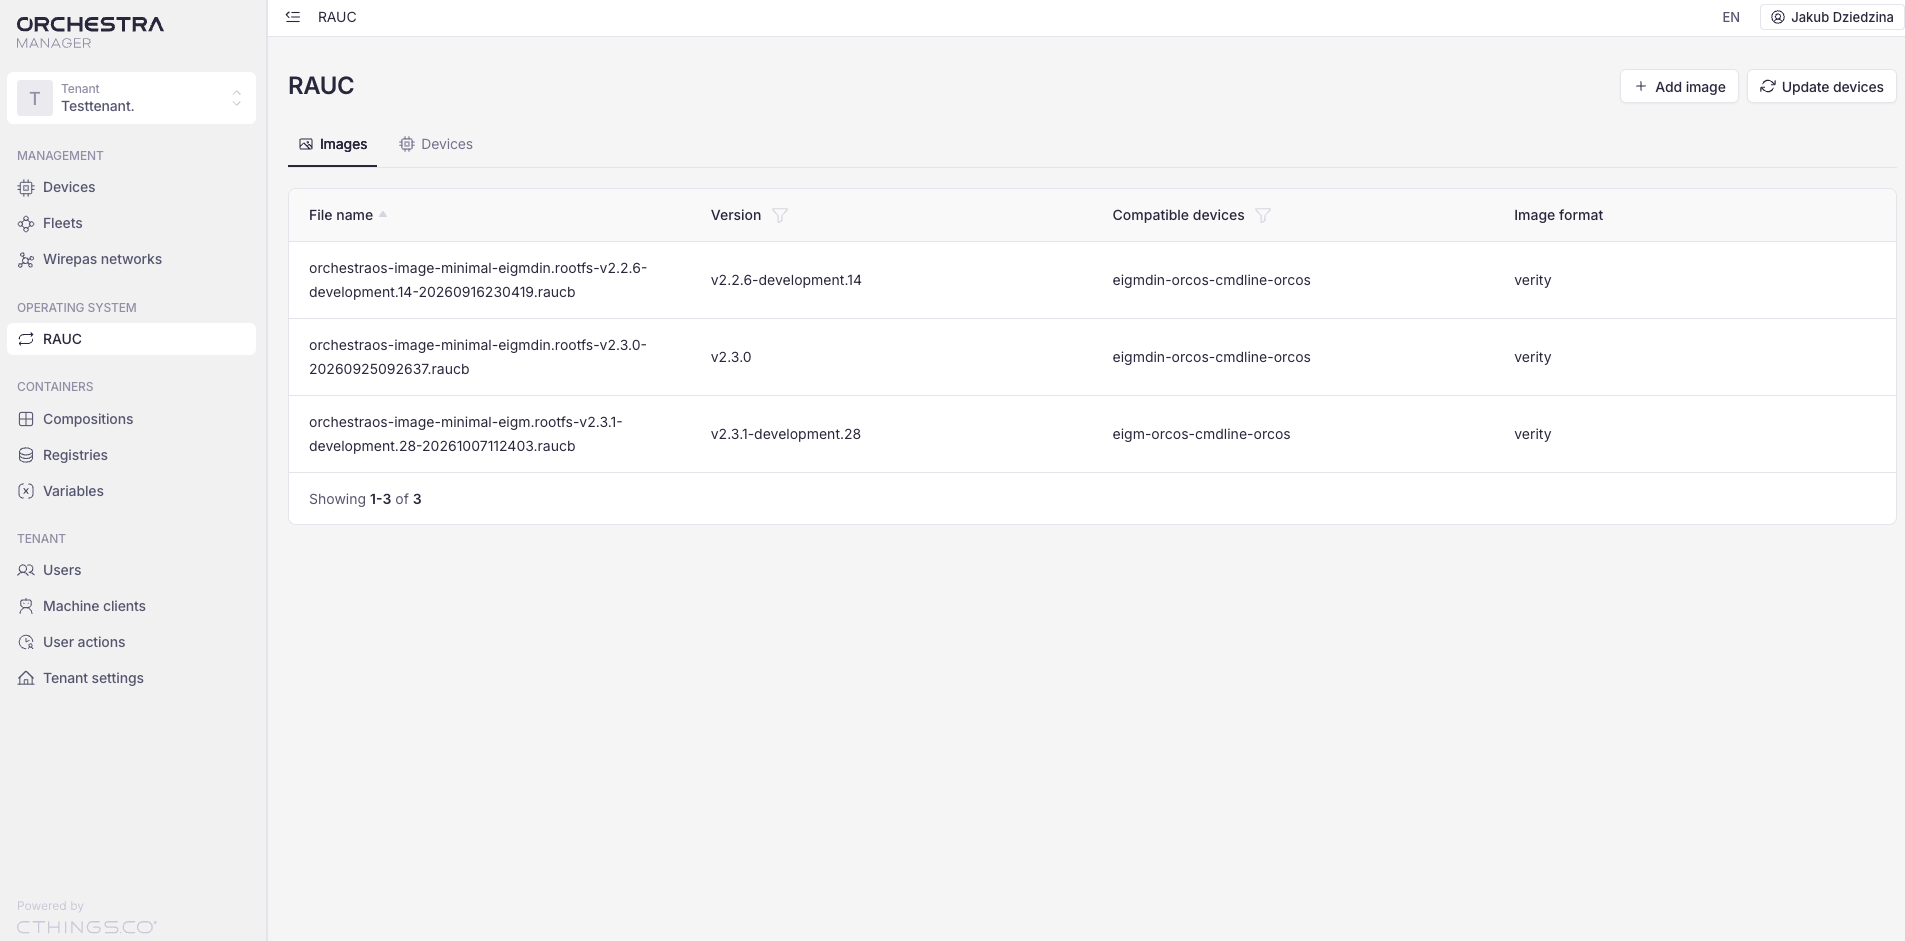
The page has two tabs:
Tab |
What it shows |
|---|---|
Images |
The uploaded images with their file name, version, compatible devices and image format. Click an image to see its details |
Devices |
The devices with their name, connection status and operating system. After an update, the new operating system version appears here |
Add an image
Click Add image.
In the Upload an image window, click Choose file and select a
.raucbfile, or drag the file into the window.Check the details read from the file, such as the name, version, device model and image format.
Click Upload.
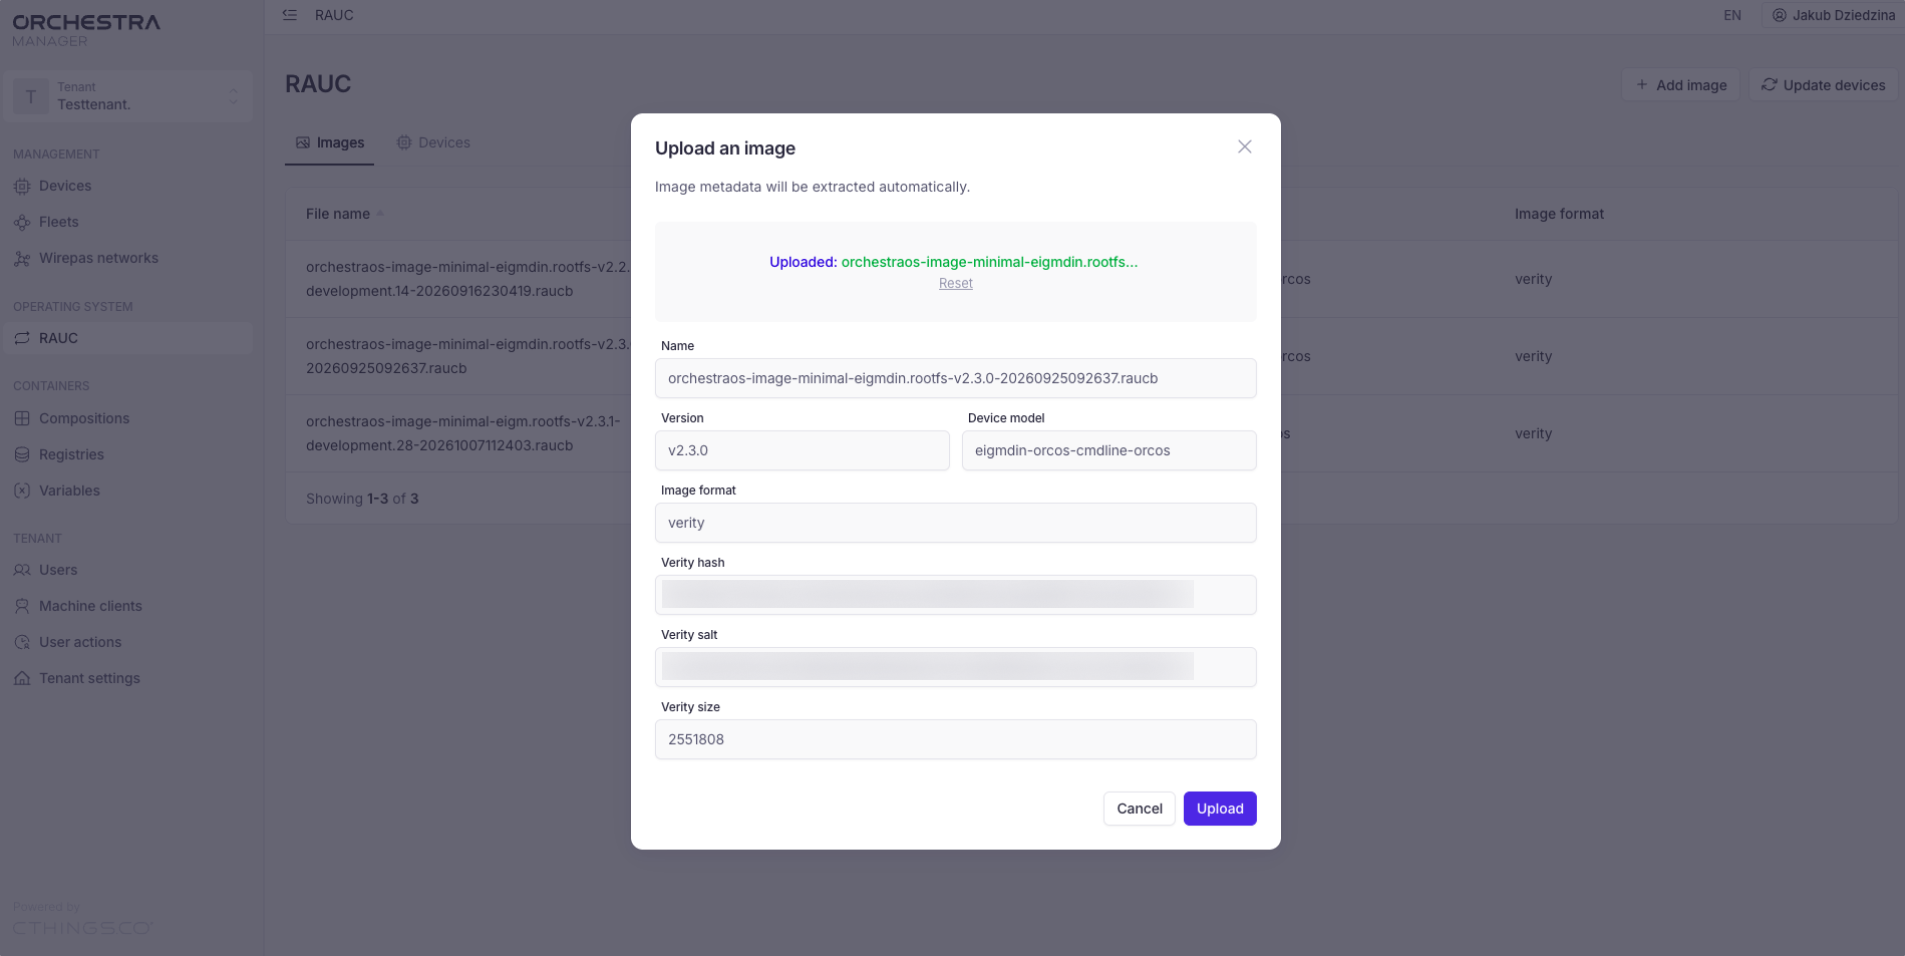
The upload can take several minutes. Don’t refresh the page until the upload is complete. When the image is uploaded, you see Image uploaded and the image appears on the Images tab.
Check and delete an image
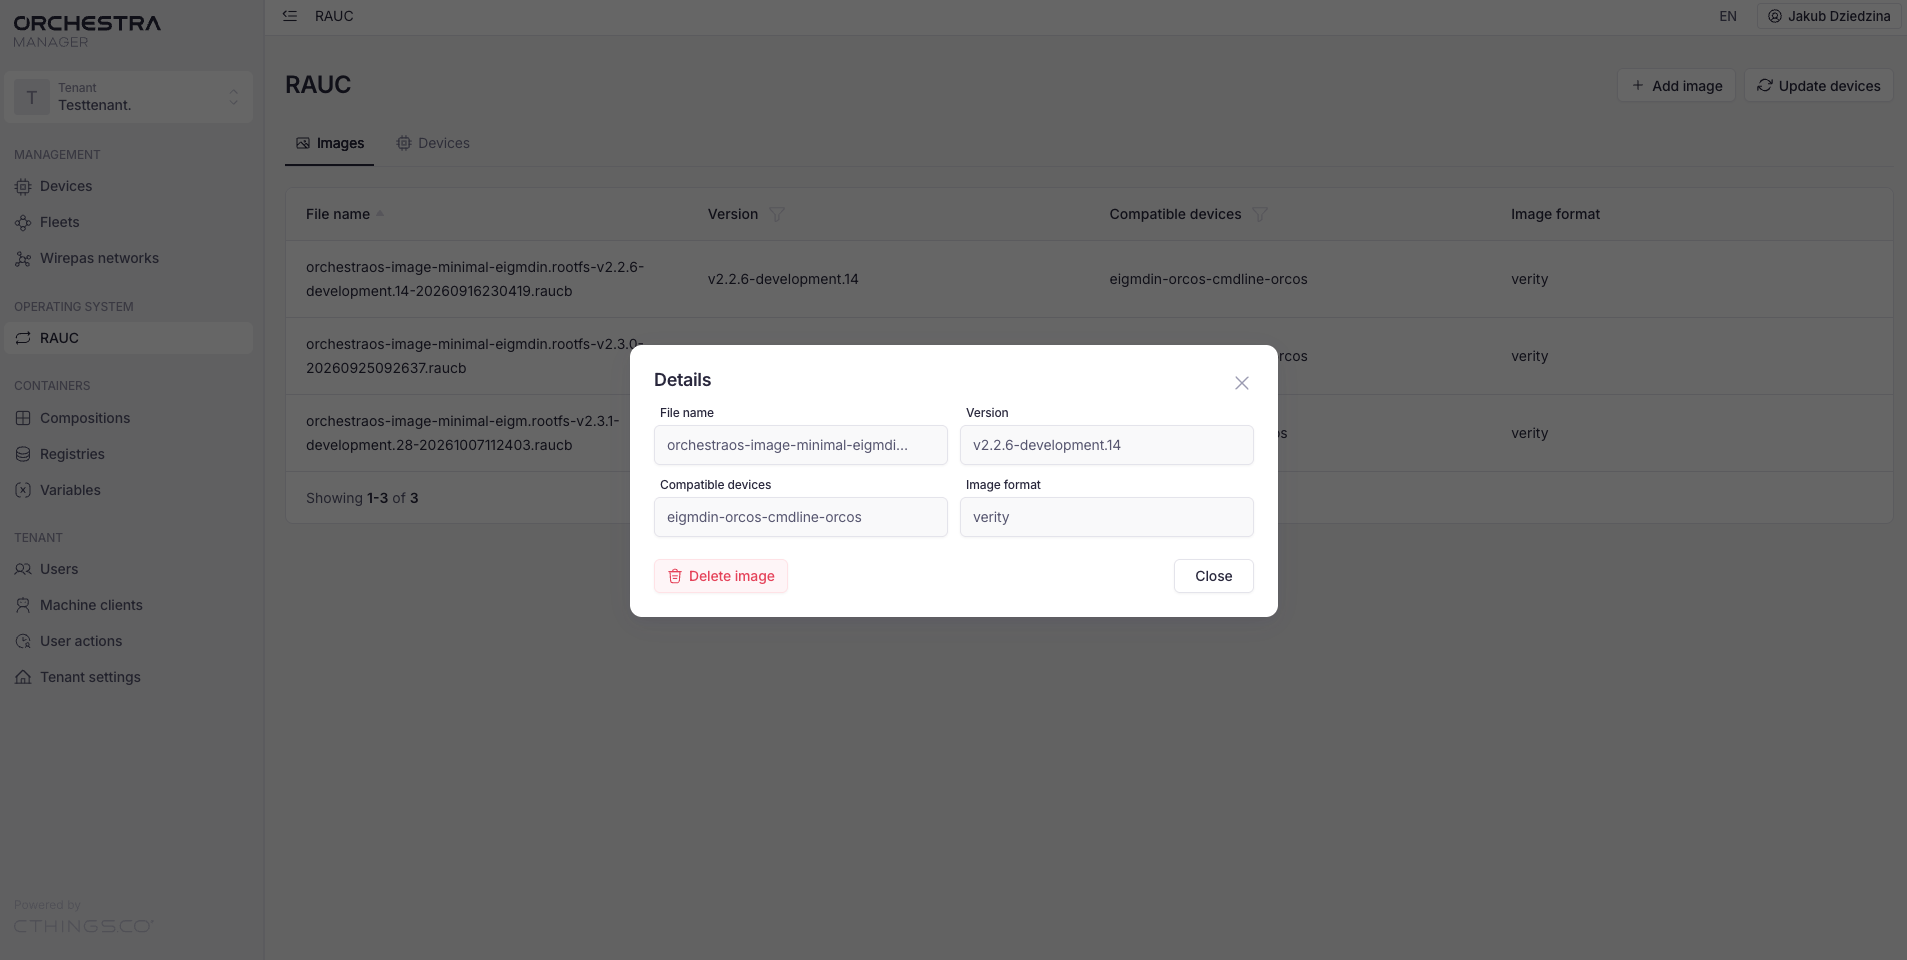
Click an image on the Images tab to open its Details window. It shows:
File name: the name of the
.raucbfileVersion: the version of the operating system in the image
Compatible devices: the device model that can install the image
Image format: the format of the image, for example verity
If you have edit rights, you can delete an image that you no longer need:
In the Details window, click Delete image.
Confirm by clicking Delete.
When the image is deleted, you see Successfully deleted and the image disappears from the Images tab.
Warning
Deleting an image cannot be undone. To use the image again, upload it again as described in Add an image.
Update devices
Click Update devices.
In the Select an image step, select the image from the Image list and click Next.
In the Select devices step, select the devices you want to update. The list shows only the devices compatible with the image.
Click Update.
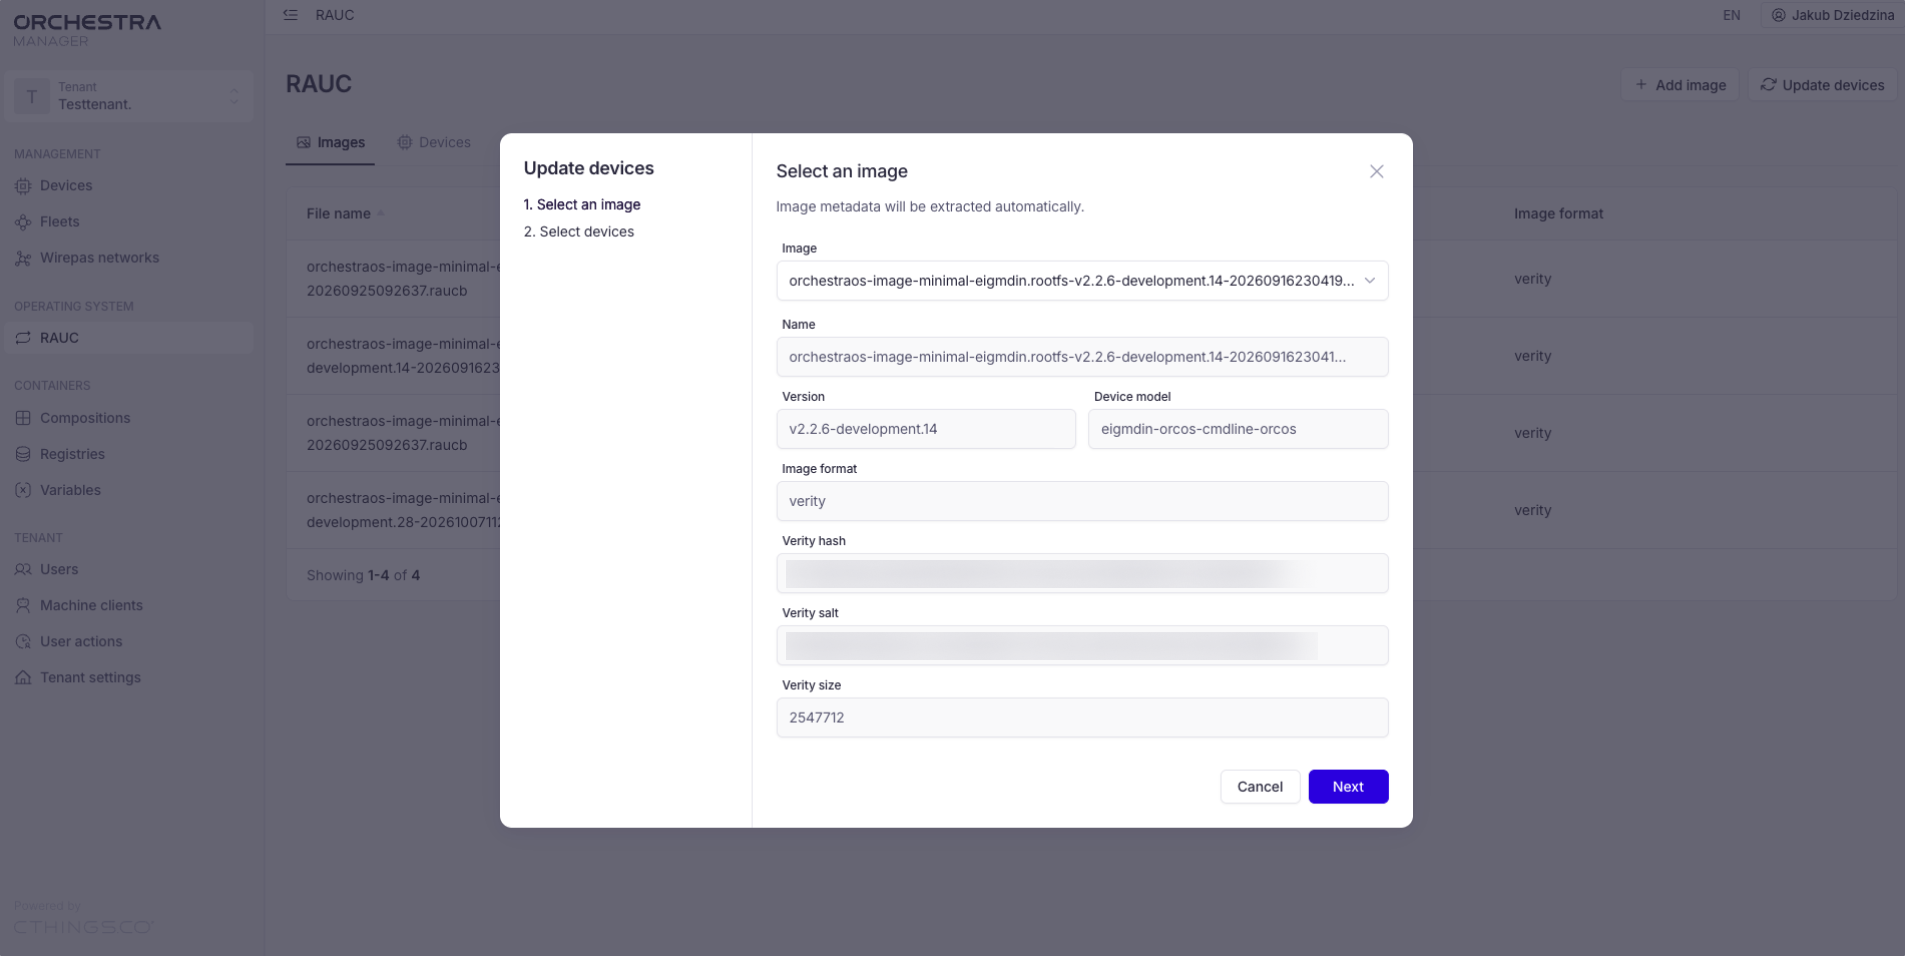
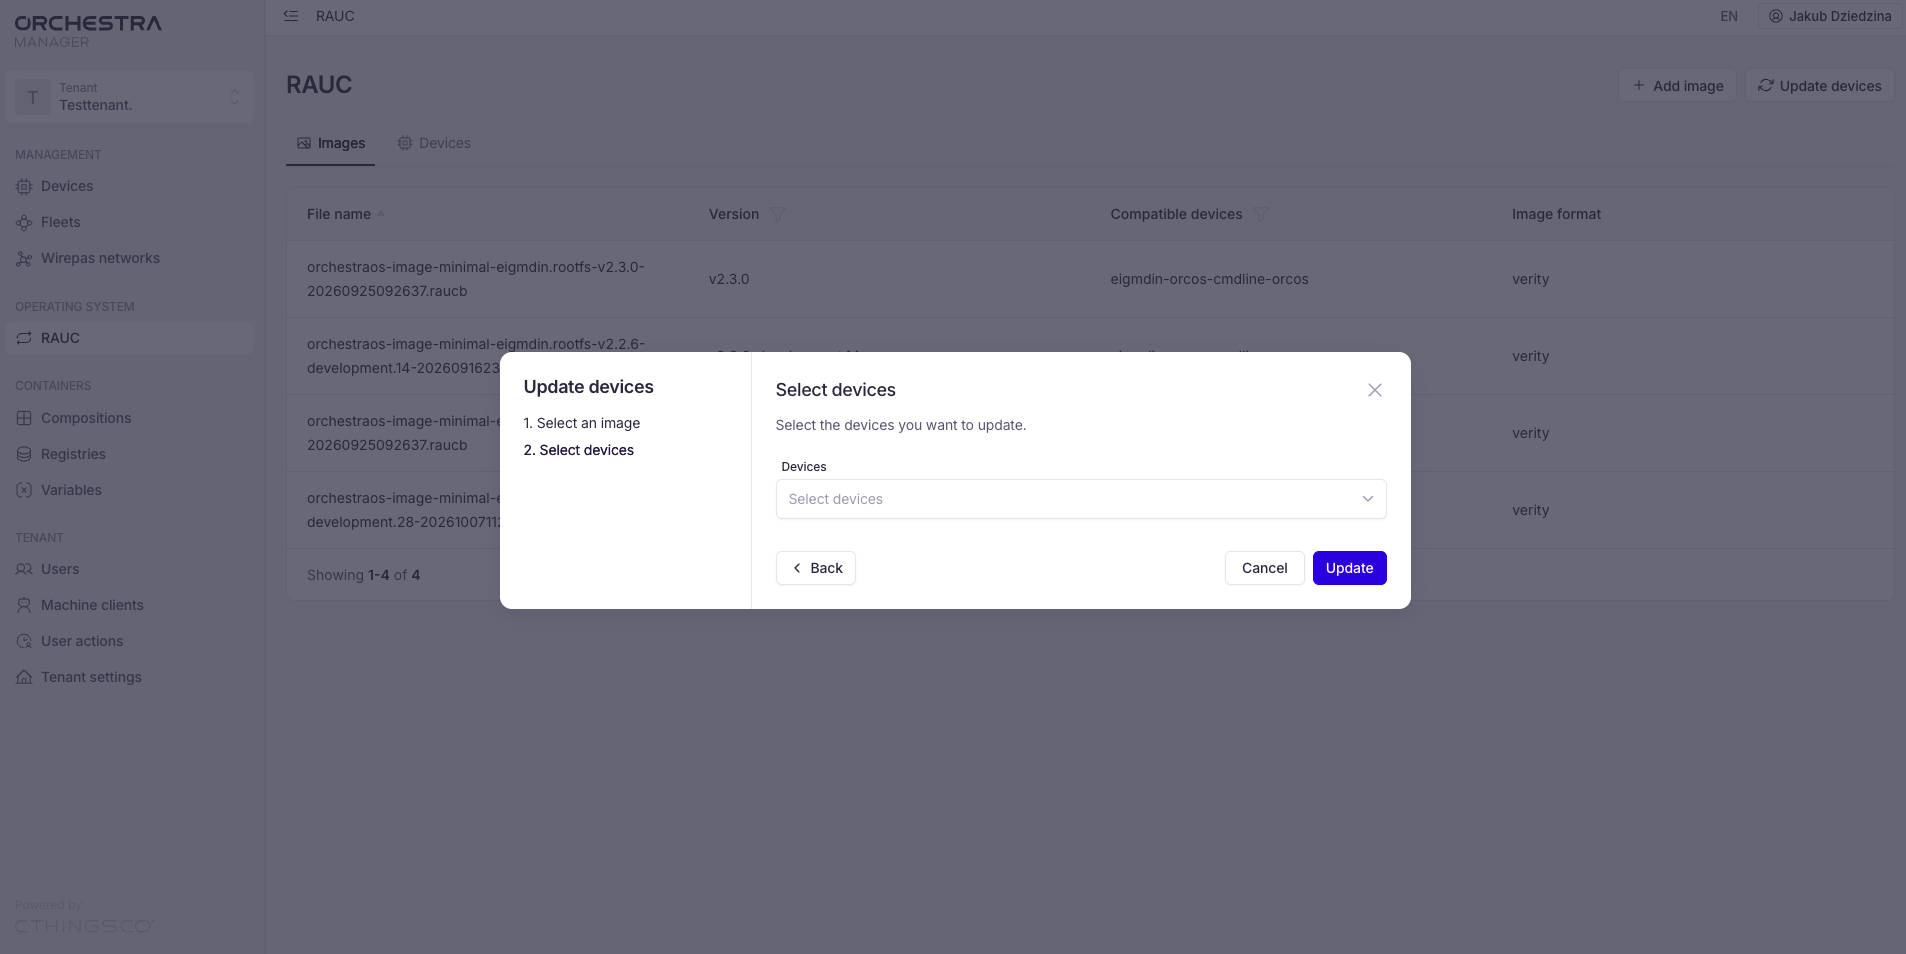
When the update starts, you see Update in progress.
Tip
If you see Selected image has no compatible devices, none of your devices can install this image. Check the Compatible devices column on the Images tab.
Check the result
Orchestra doesn’t show the update status for each device. To see whether a device was updated, open the Devices tab and look at its operating system version. It can take a few minutes after the installation until the new version appears.